On our road trip from Vancouver to Calgary, our second stop on our list was Whistler. We had been to Whistler as kids to ski with our parents but never in the summer.
You can read about our time in Vancouver, which was the first time on our road trip, here.
But first, I wanted to do a little sightseeing along the way. After our impossible hike at Grouse Grind in Vancouver, I had promised Caroline a day of rest for our legs. But every time I looked up things to do in and around Whistler, Squamish kept coming up.
Squamish, as one waiter told us in Vancouver, is a “drive through town.” It’s a place people stop to fill up their gas tank or go to the bathroom about 45 minutes-ish from Vancouver. But several people had recommended two hikes to me, The Chief and the Sea to Sky Summit hike.
Our legs were feeling OK after the Grind. We expected to be really sore since we don’t hike very often in Manhattan but we were feeling pretty good. Our waiter in Vancouver told us the Chief only takes about 3 hours and the views were worth it so we decided to give it a try.
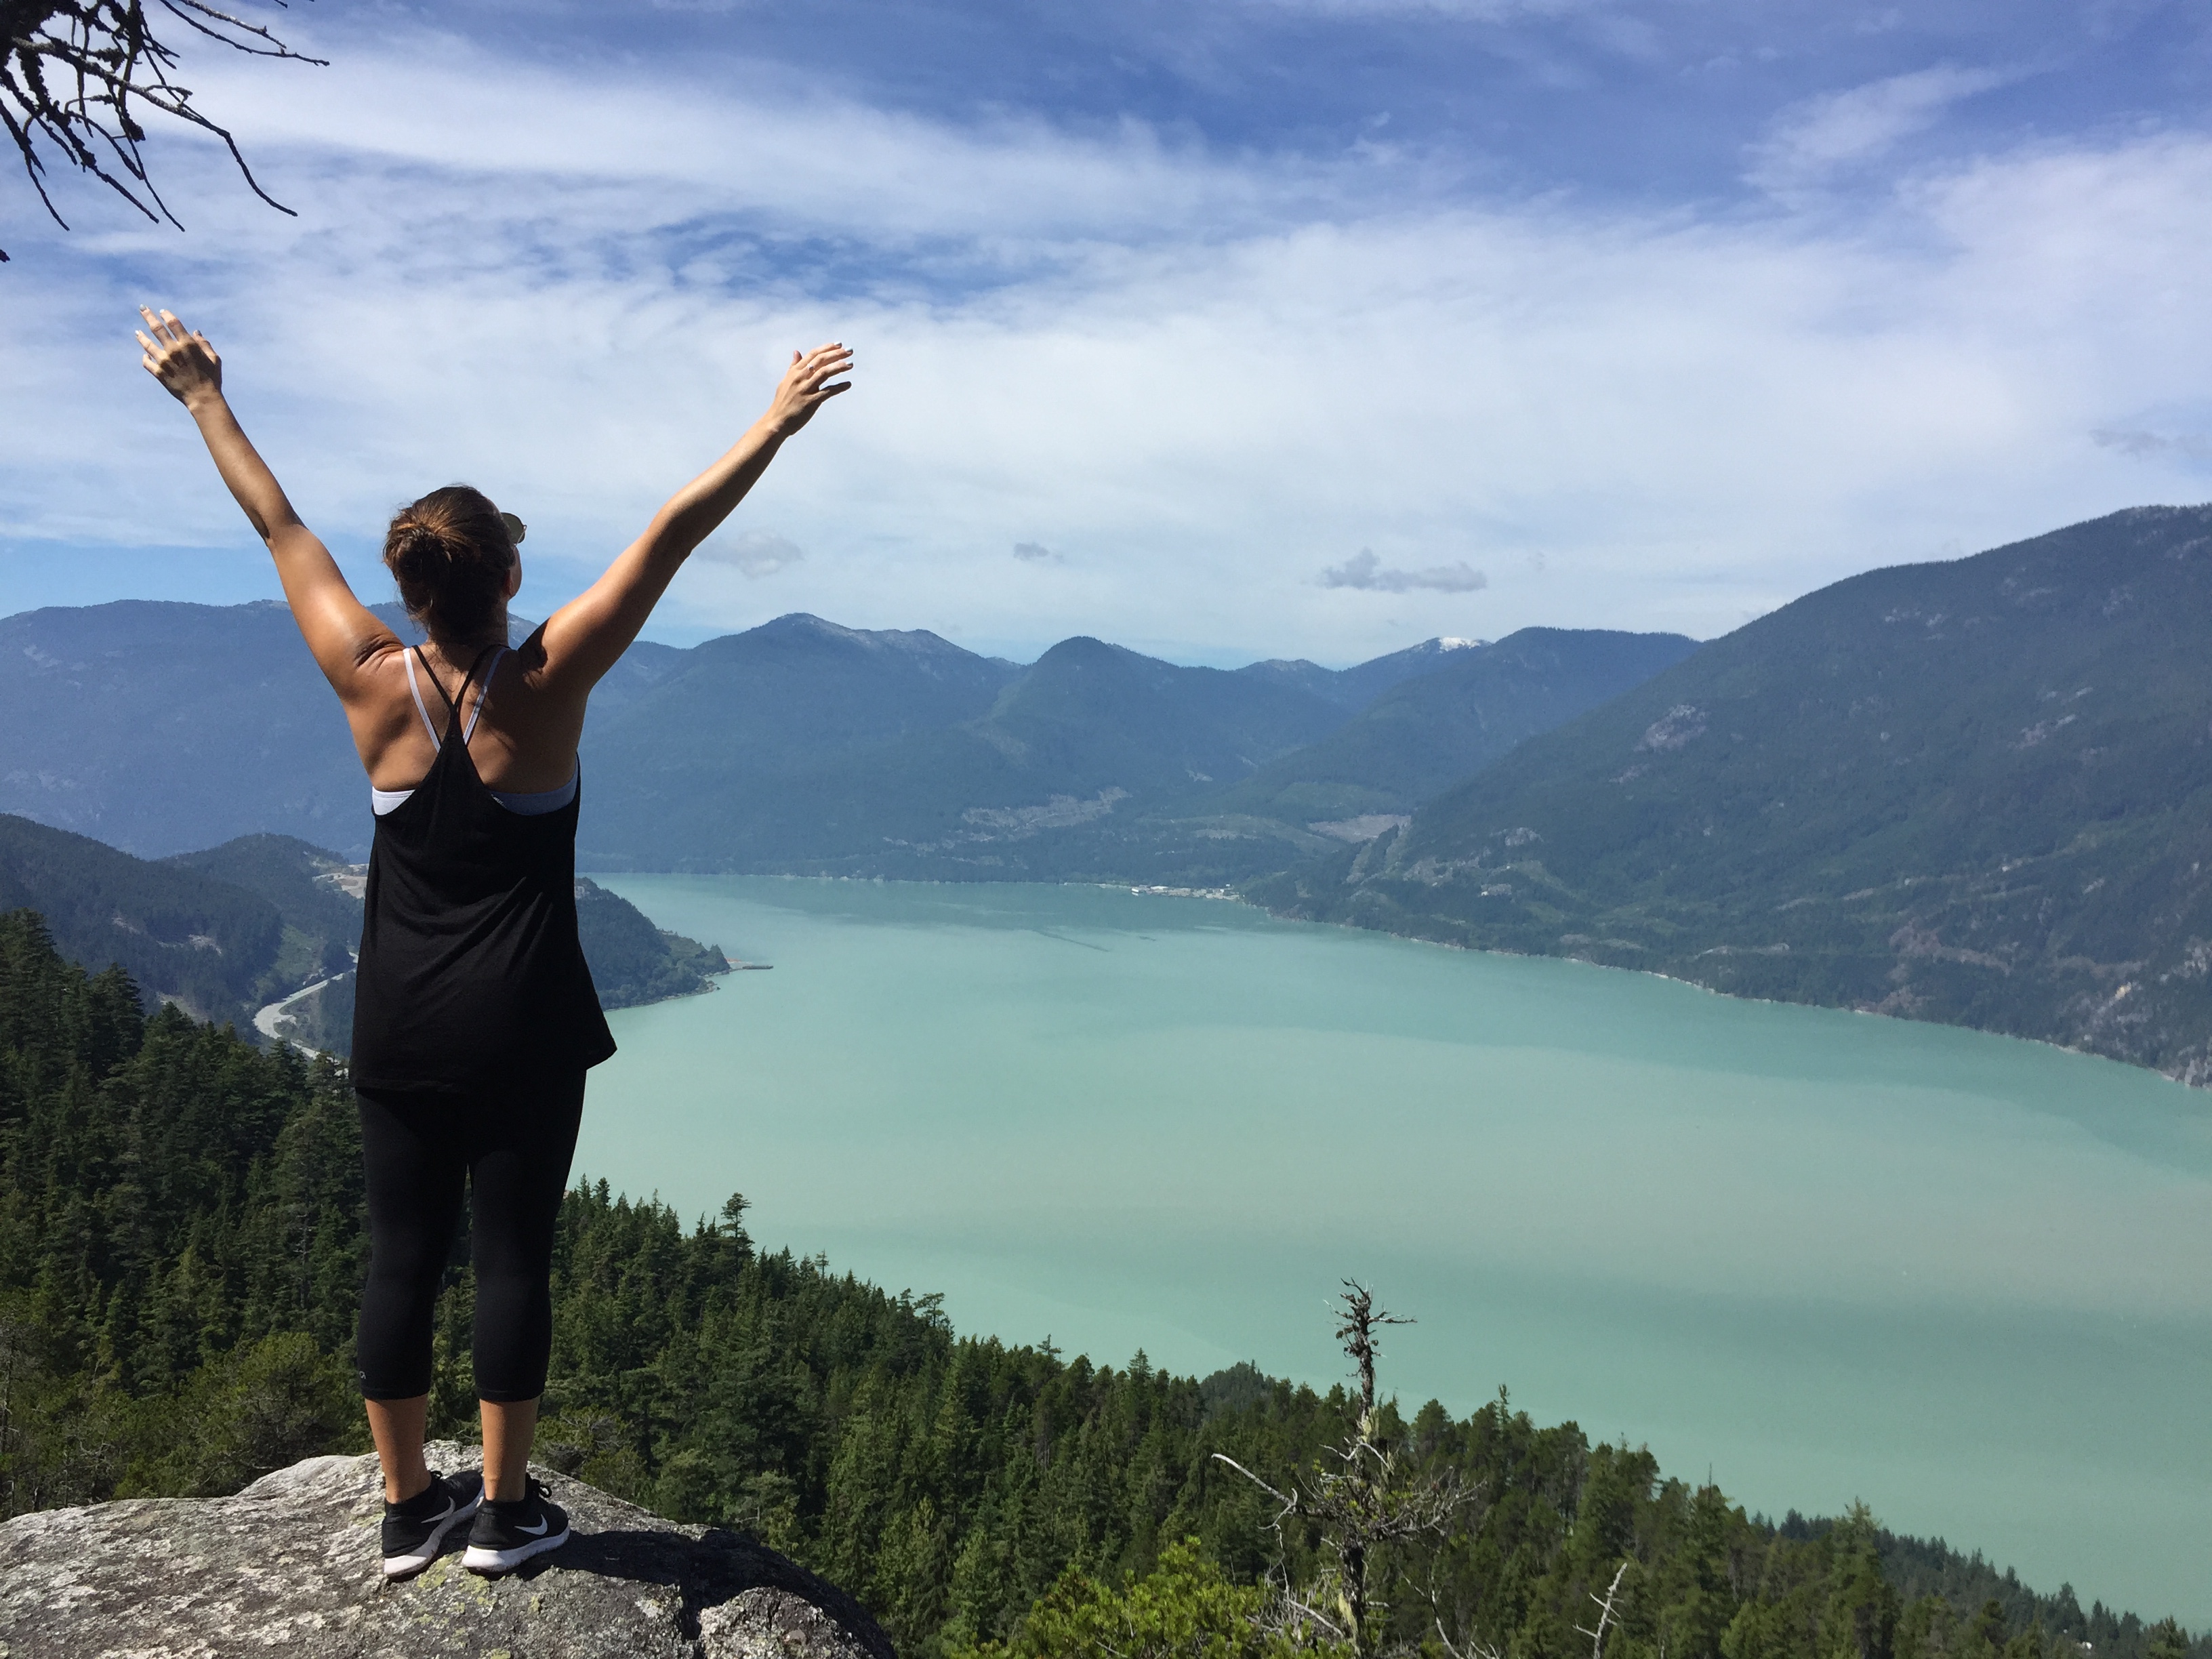
When we arrived at the Sea to Sky gondola where you can access the Chief hike, we talked to one of the employees in the gift shop to see if this was really a good idea for two inexperienced hikers. She told us that while the Chief is a nice hike, the Sea to Sky is longer but more winding and less stairs PLUS better views. And we could take the gondola down instead of hiking down. Score! She sold us! We set out for the Sea to Sky Summit hike which was 7.5 km to the top, about 4.6 miles.
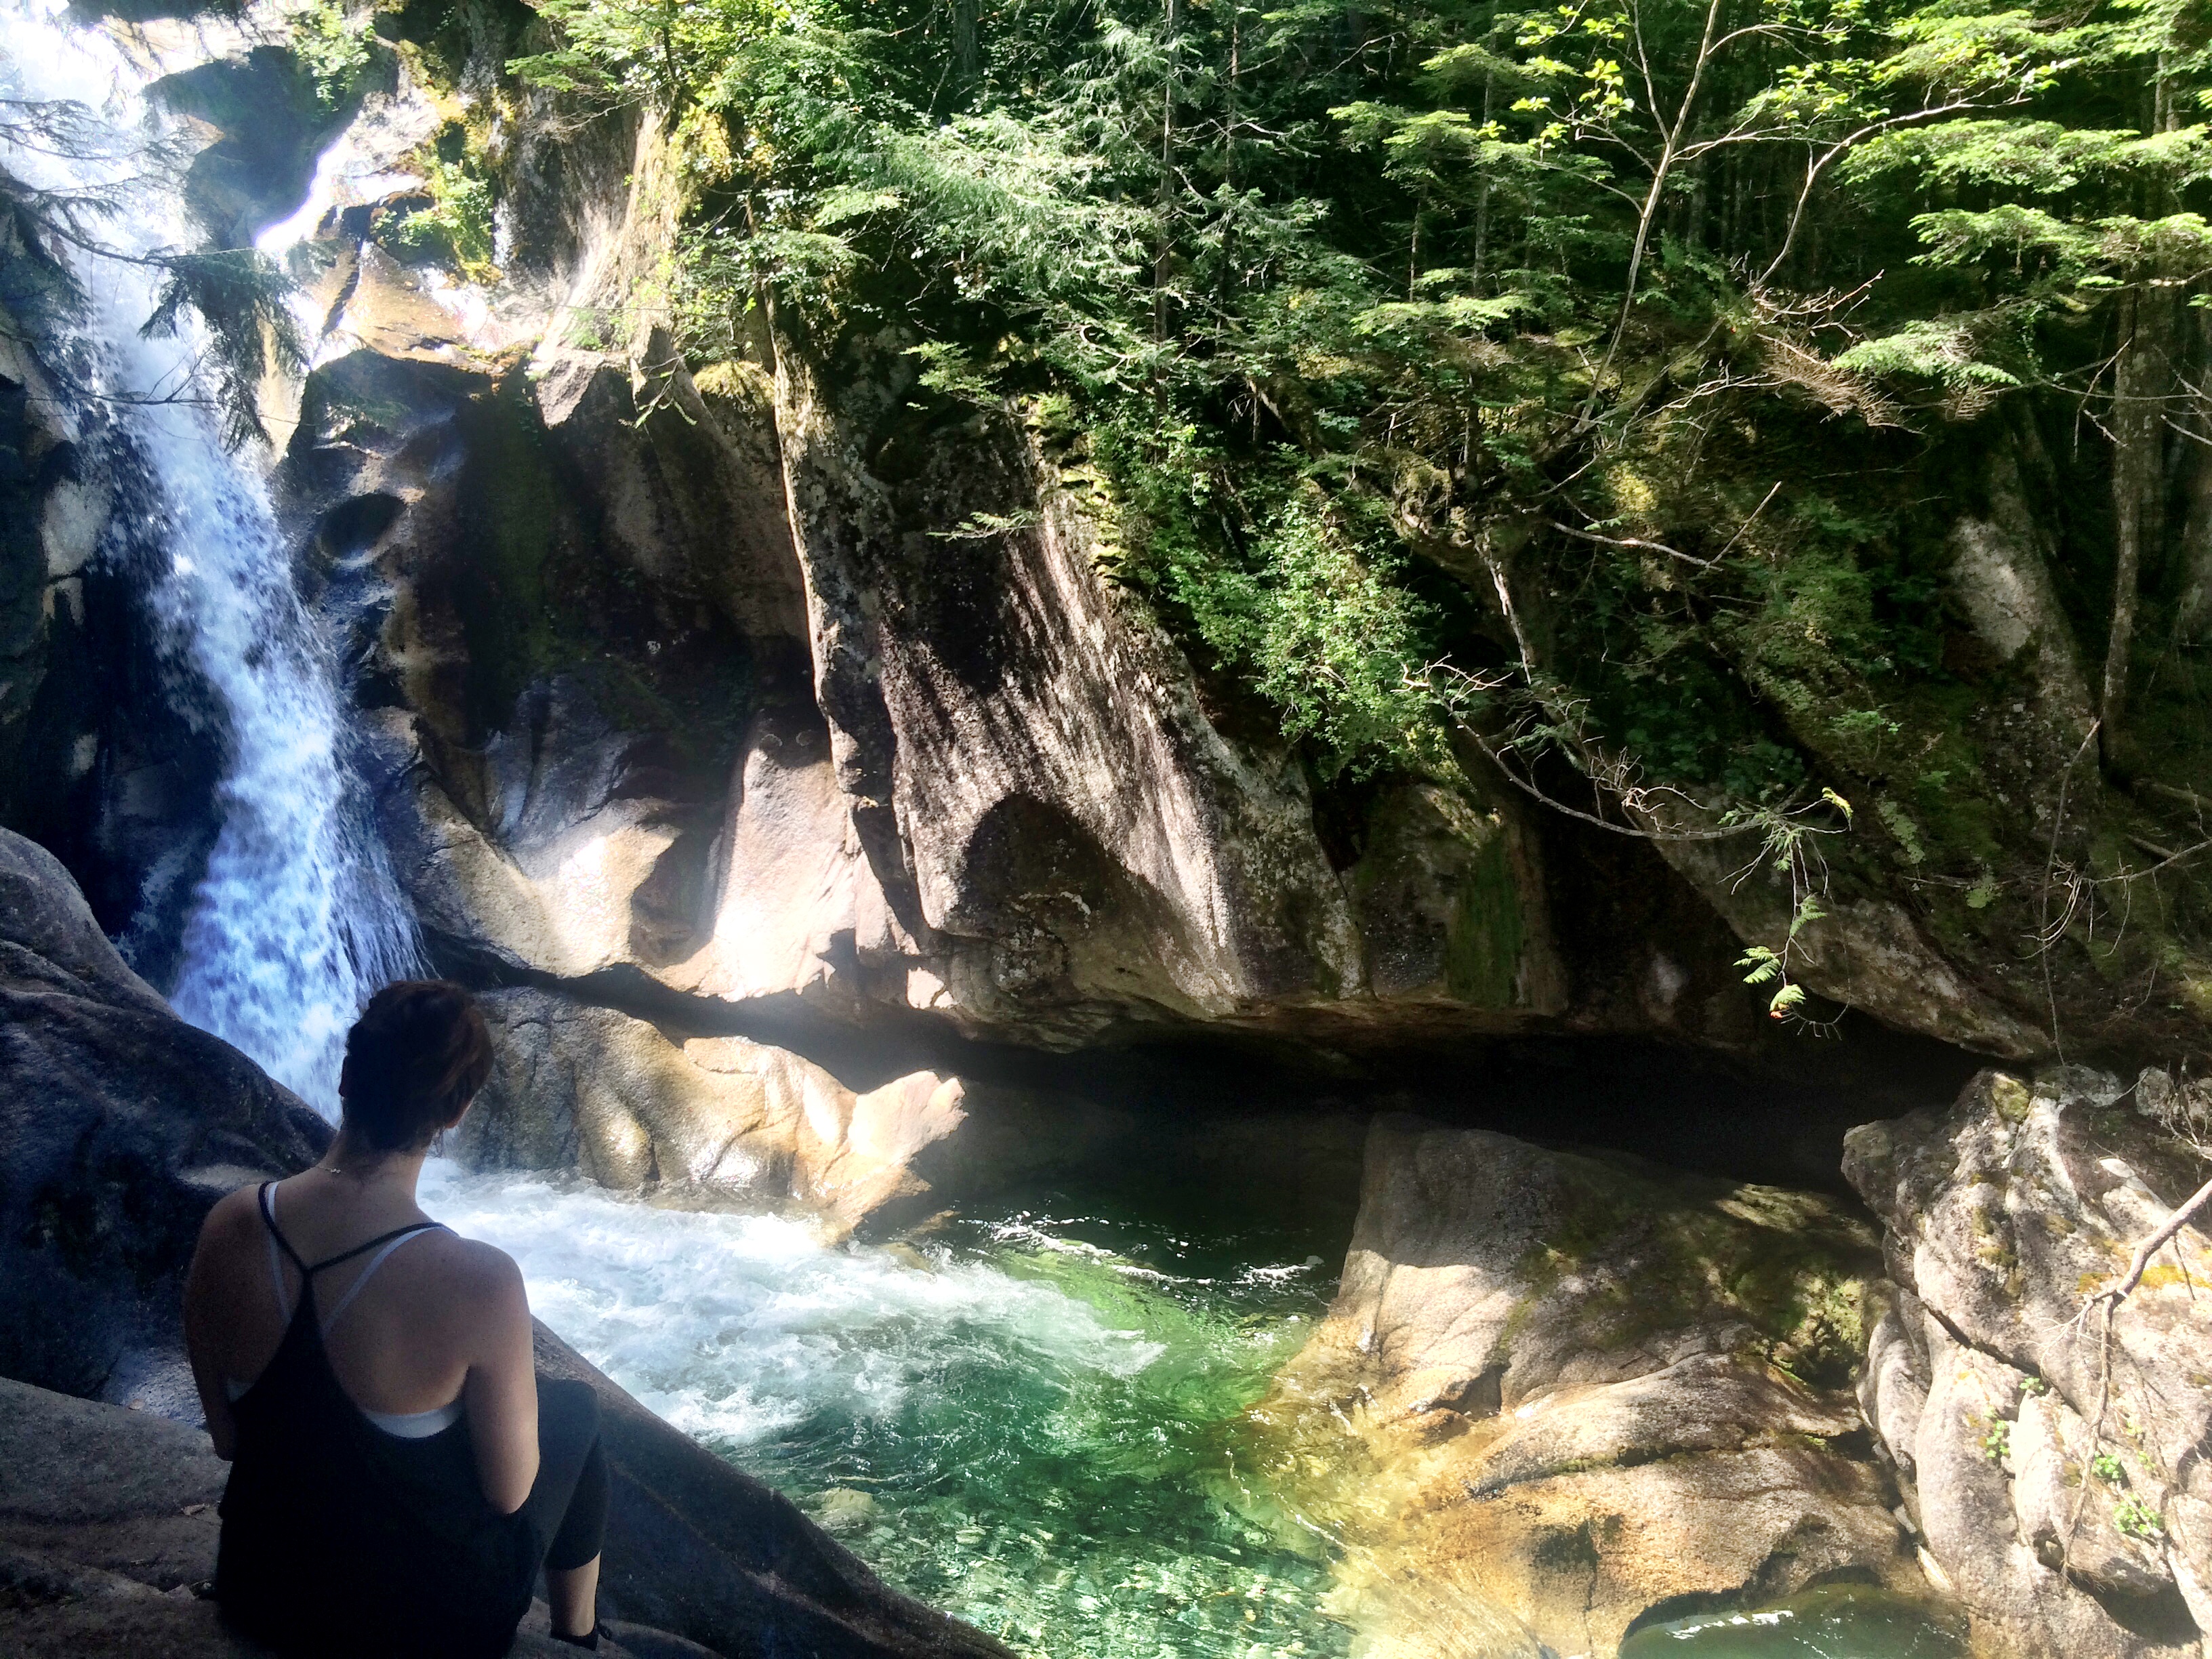
The hike starts at the back of the parking lot at the Sea to Sky gondola and it really is pretty winding. It is more of a nature hike so there is lots of climbing on rocks and over fallen logs. It’s a much more enjoyable hike than the Grouse Grind because there are also amazing viewpoints along the trail. There’s a little pool about halfway into the hike if you want to stop to take a dip or have lunch.
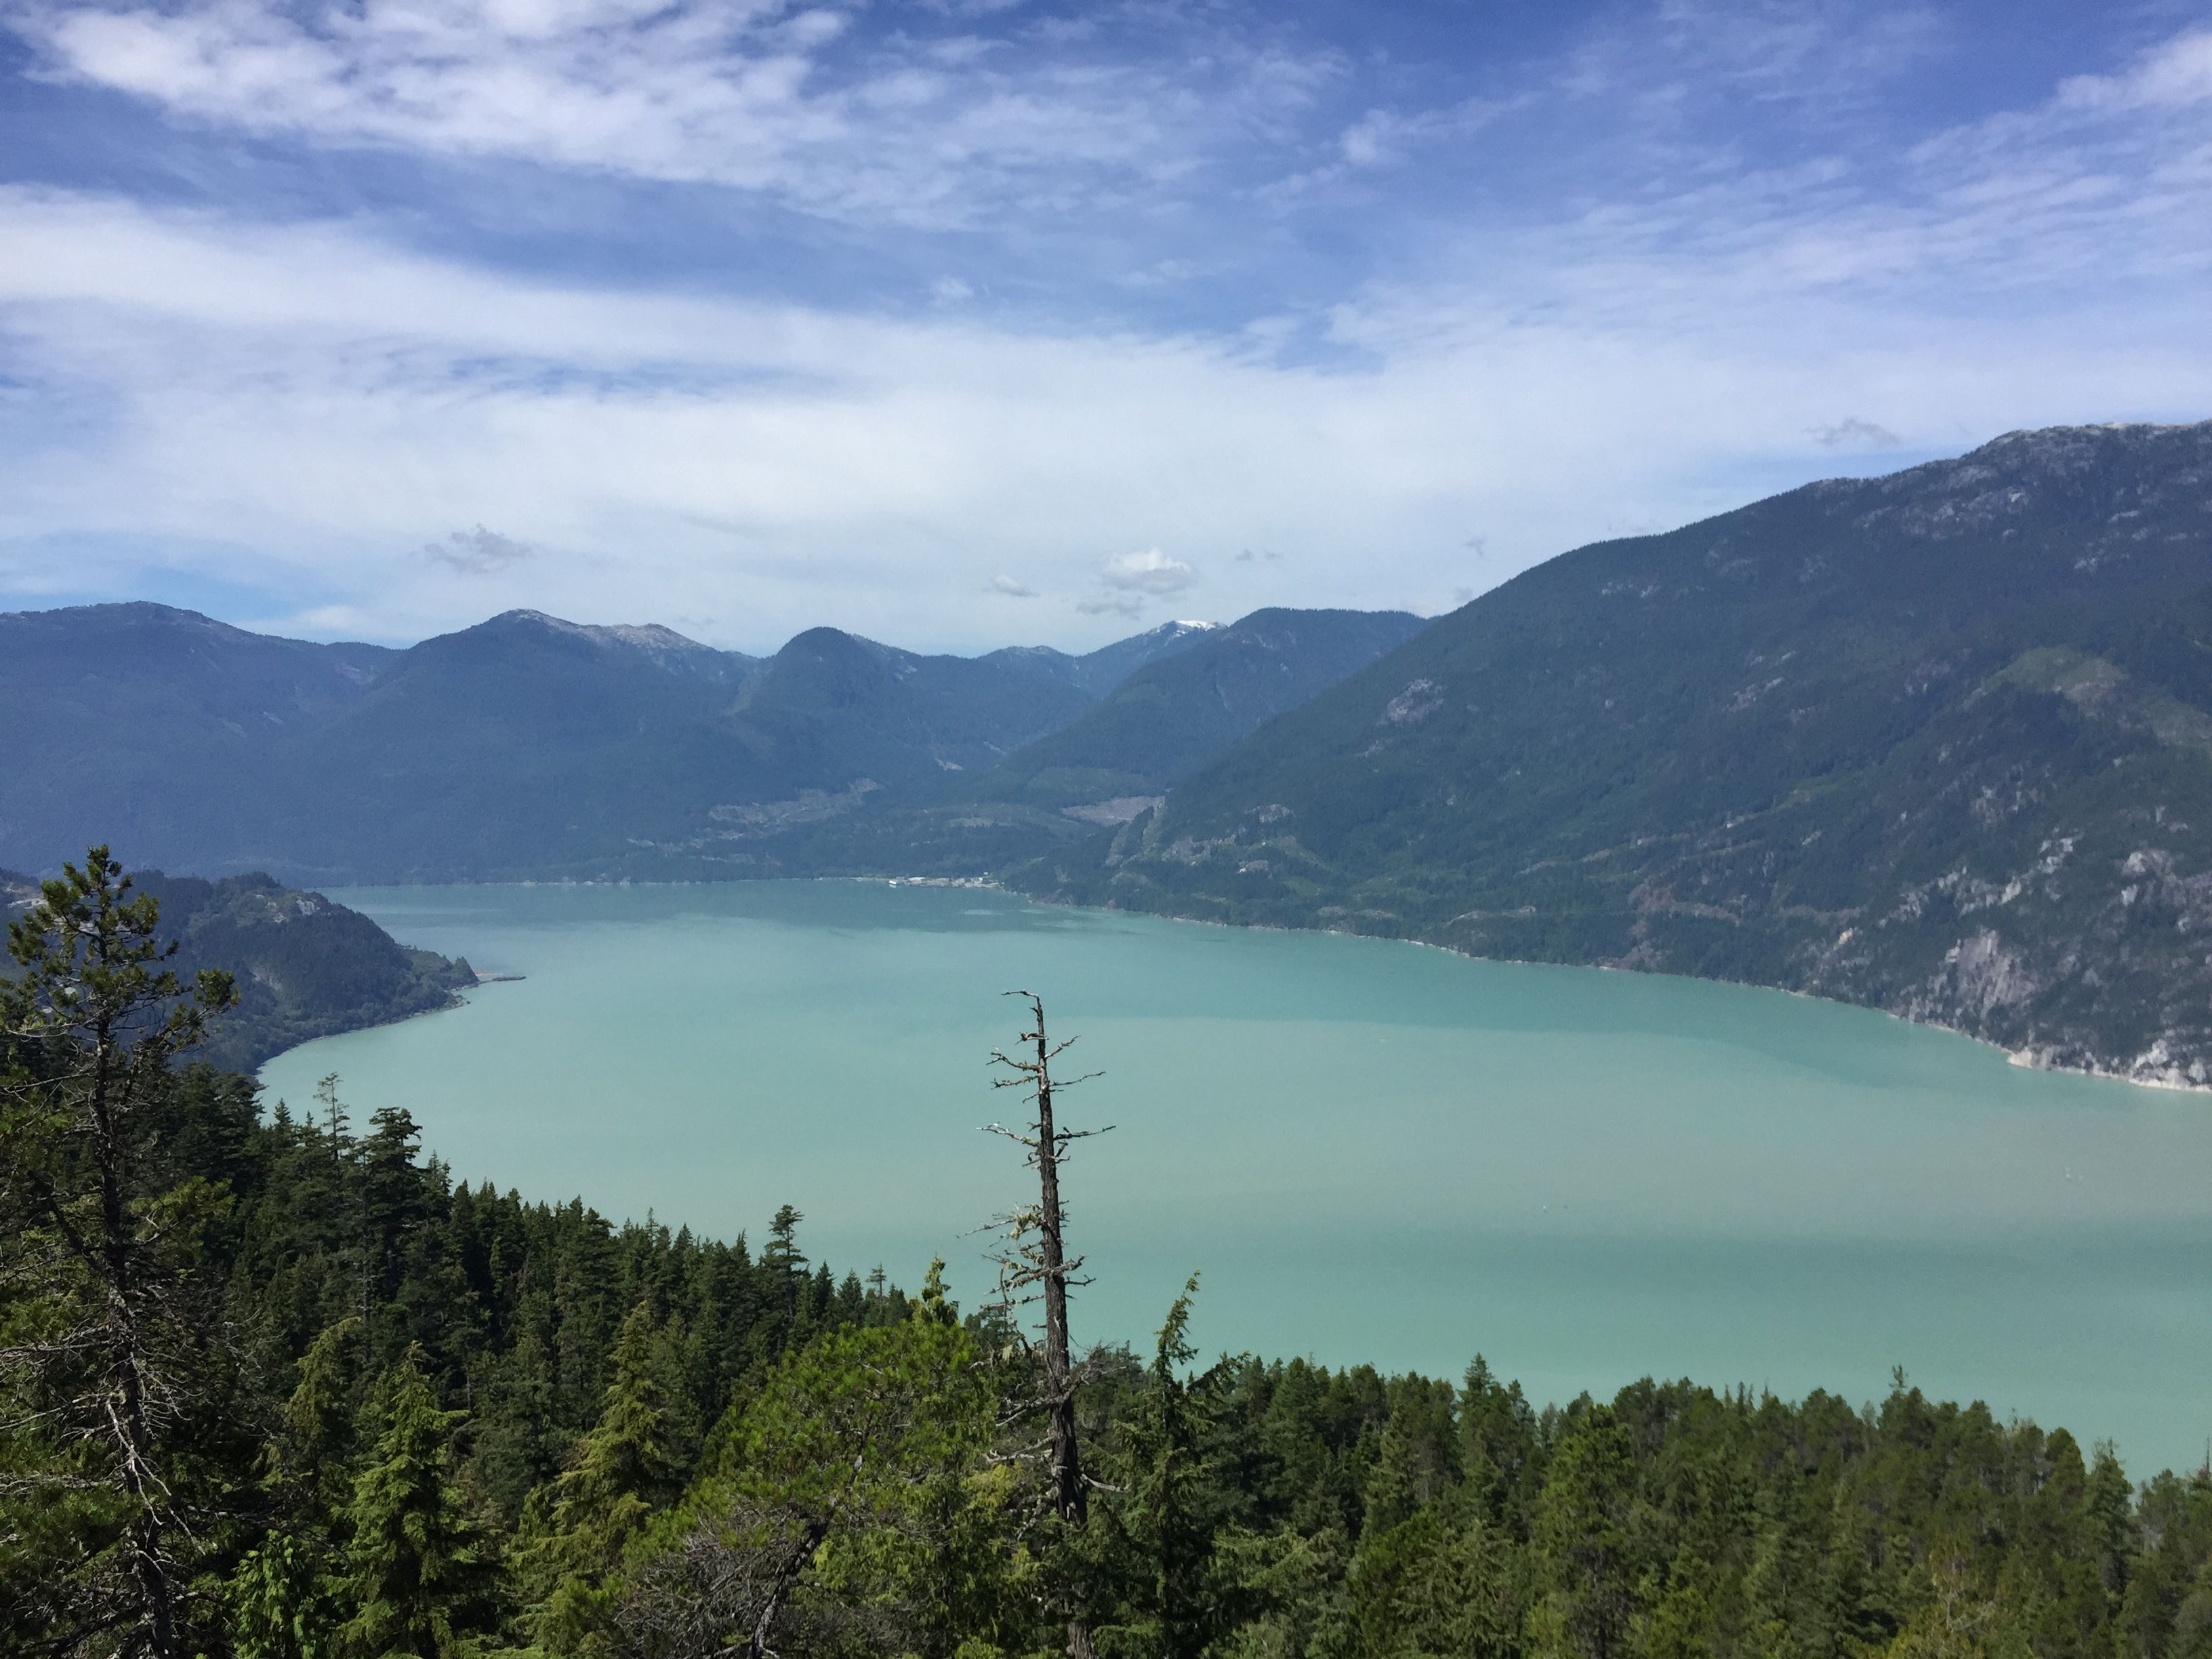
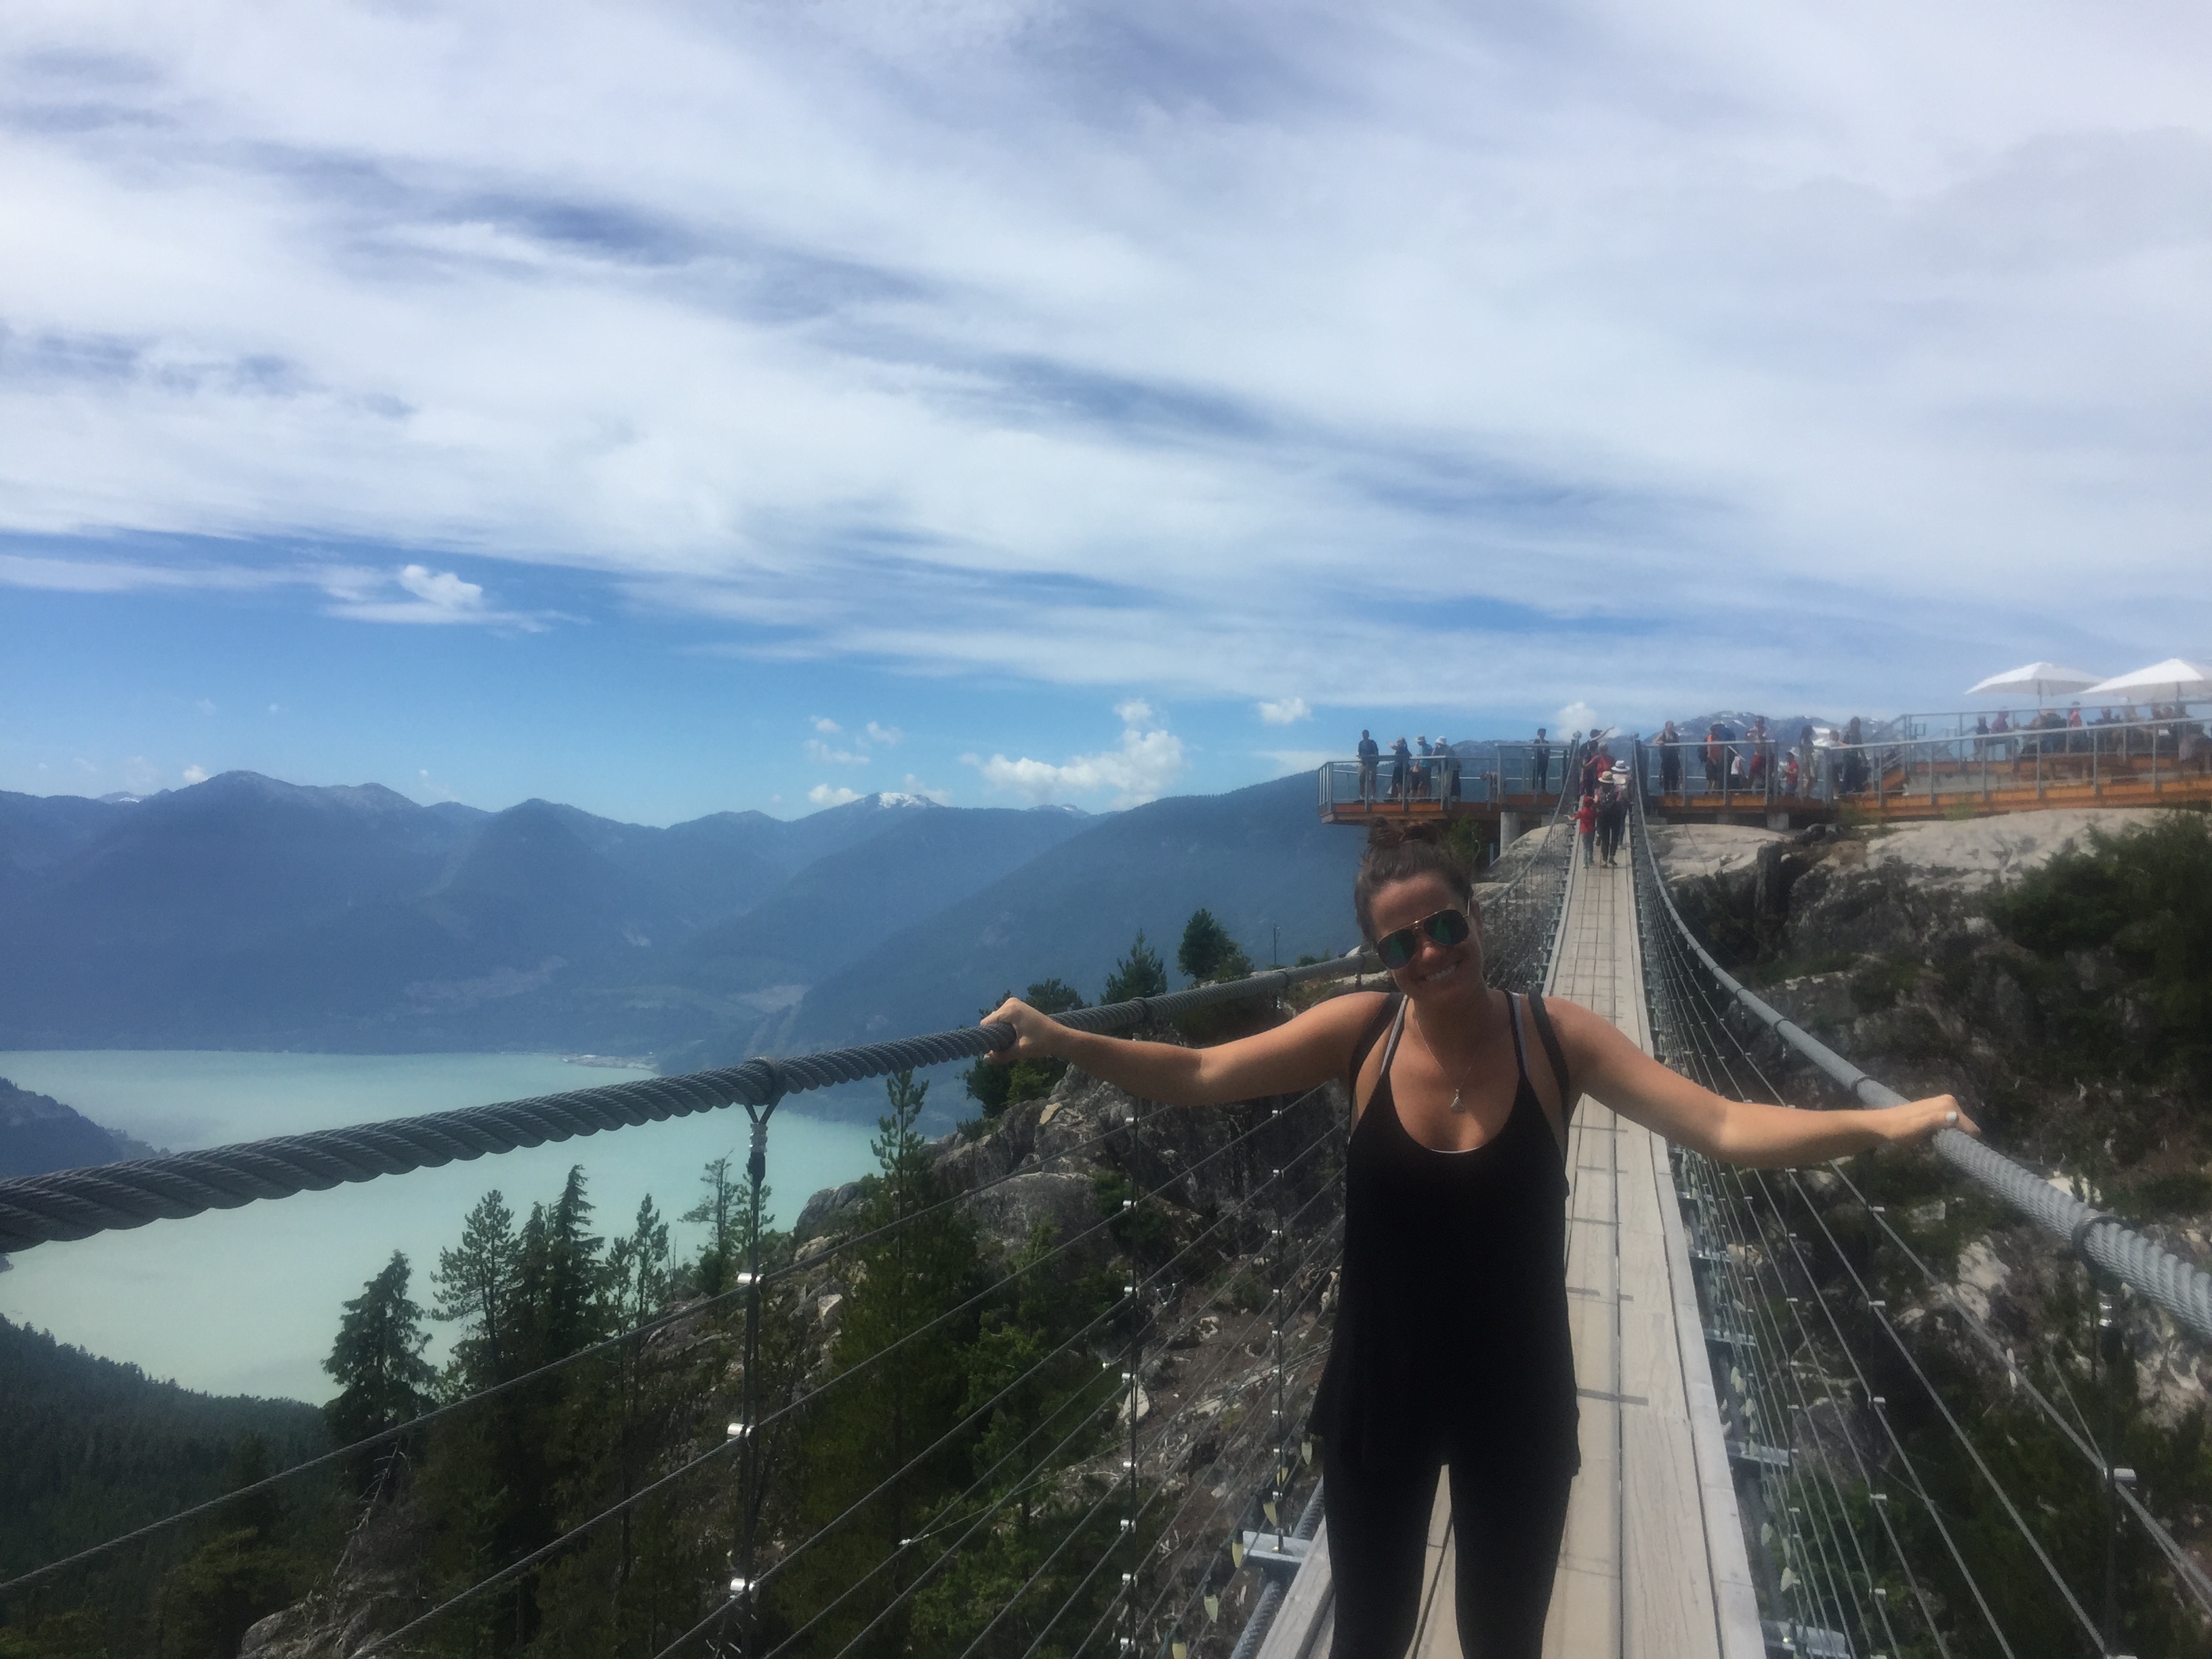
The hike ends at the top of the Sea to Sky gondola. There you will find a gift shop (of course) and a restaurant as well as many other trails and a suspension bridge. Exactly like the Capilano Suspension Bridge in Vancouver that we paid $40 for the day prior…oops! This bridge was much scarier though! It didn’t feel quite as safe as the Capilano bridge and it seemed a lot higher.
After a quick sandwich lunch at the top, we paid $10 to ride the Sea to Sky gondola back down. The hike was one of our favorites of the road trip and was definitely worth it if you have the time! It was far less busy than the Grouse Grind or the other hikes we did around Whistler and Banff National Park.
And Whistler, about an hour drive from Squamish, was the next stop on our road trip!
Where We Stayed in Whistler: HI Hostel
Two years ago I backpacked around Europe where I lived in hostels for more than three months. I stayed in good hostels, bad hostels, fancy hostels and complete dives. My sister has never stayed in a hostel and I told her it was something she should try before she dies! Plus, our next stop was Banff National Park which was going to be incredibly expensive so we needed to save our dollars.
We booked a 4 bed, all girl dorm for 2 nights in Whistler at the HI Hostel. It’s about a 10 minute drive from the base of Whistler/Blackcomb. It was once used as part of the Athlete’s Village during the 2010 Winter Olympics so Caroline loved the idea of that. This particular hostel is part of Hosteling International which is a chain of hostels around the world so I knew it would be nice. But beware that if you are not a member of Hosteling International, you do have to pay an additional small fee when you arrive.
The hostel was great except for the heat! It was insanely hot in our room with only a small fan so the nights were pretty unbearable. Thank god we were so exhausted from our hikes that we just passed out every night.
But if you’re looking to save a buck or two in Whistler, I would recommend it. There’s a decent amount of parking at the hostel and there is a bus that stops right outside to take you into Whistler Village.
Day 1 in Whistler: Walking Around Whistler Village
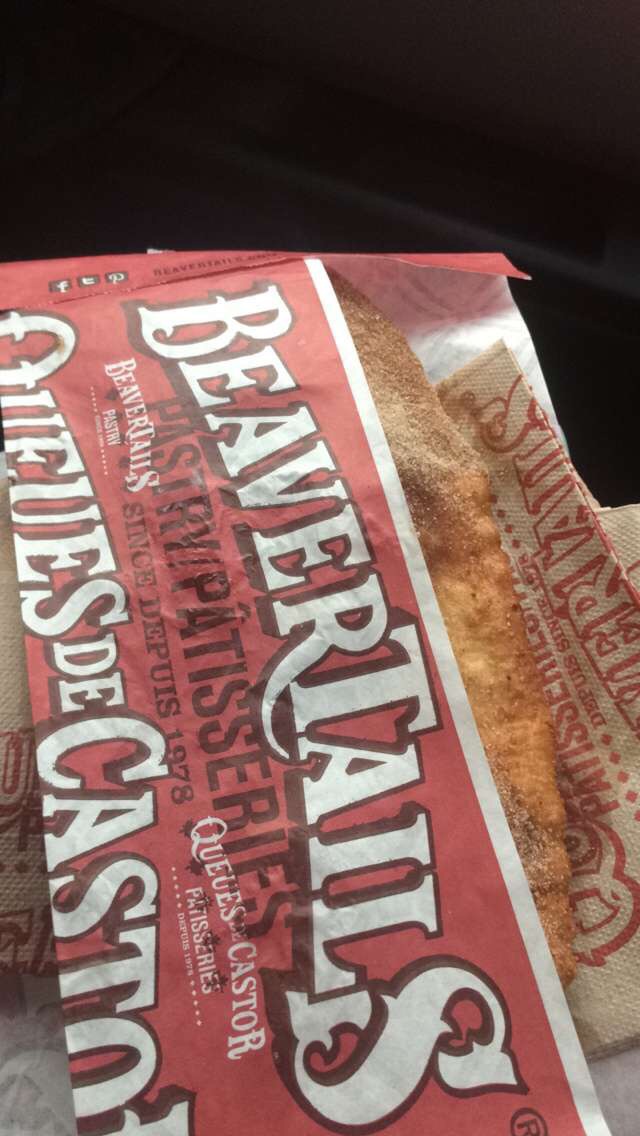
Our first afternoon/night in Whistler was after our 3.5 hour hike in Squamish so we were pretty exhausted when we arrived. We dropped our stuff at the hostel and went in search of Beavertails, aka fried dough. We ate these on every ski trip as kids so we were determined to find them. There’s a stand almost directly at the base of Whistler mountain that served burgers, poutine and Beavertails!
Whistler Village is pretty massive with a ton of shops, restaurants, bars and ice cream places. We walked through the town getting a sense of what was there before grabbing dinner at Garibaldi Lift Co. Bar & Grill right at the base of the mountain. We had a prime spot for watching the mountain bikers go off jumps. Mountain biking is INSANELY popular at Whistler in the summer!
Day 2 in Whistler: Ziplining and Joffre Lakes Hike
One of the only excursions we booked ahead of time for our trip was ziplining in Whistler. A company there called Ziptrek recently opened a new zipline called Sasquatch that is the longest in North America! Obviously we had to try it.
The zipline was over a mile long, 7,000 feet in the air and the ride was about a minute and a half due to insanely high speeds. It was $119 per person for just the zipline and the entire tour took about 2 hours with getting to the zipline and gearing up.
The zip line is located high up on Whistler mountain. You take the chairlift up and then a van drive even further up the mountain. You don’t come down the same way you go up so you can’t bring anything with you unless it is securely attached to you!
Once we got to the zipline platform, it was a little terrifying to look at the looming adrenaline rush. It was reallllly long and realllllly high! But after watching a couple people in our group do it before us, I was feeling pretty confident about it.
One thing I loved about this zipline was that there were stairs down from the platform so once you were all hooked up, you walked down 4 little stairs so you didn’t have that feeling of jumping off a platform and dropping. I hateeee that part about ziplining! But here you just sort of had to lift up your feet on the stairs and away you went!

The ride is REALLY fast! They warned us that if we took our hands off the handlebars, we would spin around and even flip over. But that was OK and they even encouraged it. That wasn’t for me! I tried taking one hand down and I started to spin so I put it right back. Once I got over the insane speed, I was able to look around a little and enjoy the amazing views of the mountains and ravine below. My eyes were watering and I could barely see but it was AWESOME!


After the zipline, I had promised Caroline a day of rest for our legs. We were pretty dead after two strenuous hikes. But then I saw on Instagram that there were some isolated lakes you could hike to and I desperately wanted to see them. I asked our zipline guide and she said it would only take about an hour to hike to the lakes and that it was much more leisurely than the last two hikes we had done. I convinced my sister and after getting some waters and Cliff bars at the grocery store, we were on our way to Joffre Lakes.
Joffre Lakes Provincial Park is about an hour from Whistler. The drive there along the Sea to Sky highway is absolutely breathtaking! The views are just insane. There’s a small parking lot at the entrance to the park and it was very crowded. It was about 2pm when we arrived and we weren’t the only people with this idea.
The hike was MUCH easier than the other two we did. There was a clearly marked trail and while it was uphill, there weren’t any stairs or rocks to climb. There are three glacier lakes in the park and the first lake you don’t even have to hike to. It’s just a short walk through the woods from the parking lot. If that’s all you have time for, I definitely recommend stopping quickly to take a look!

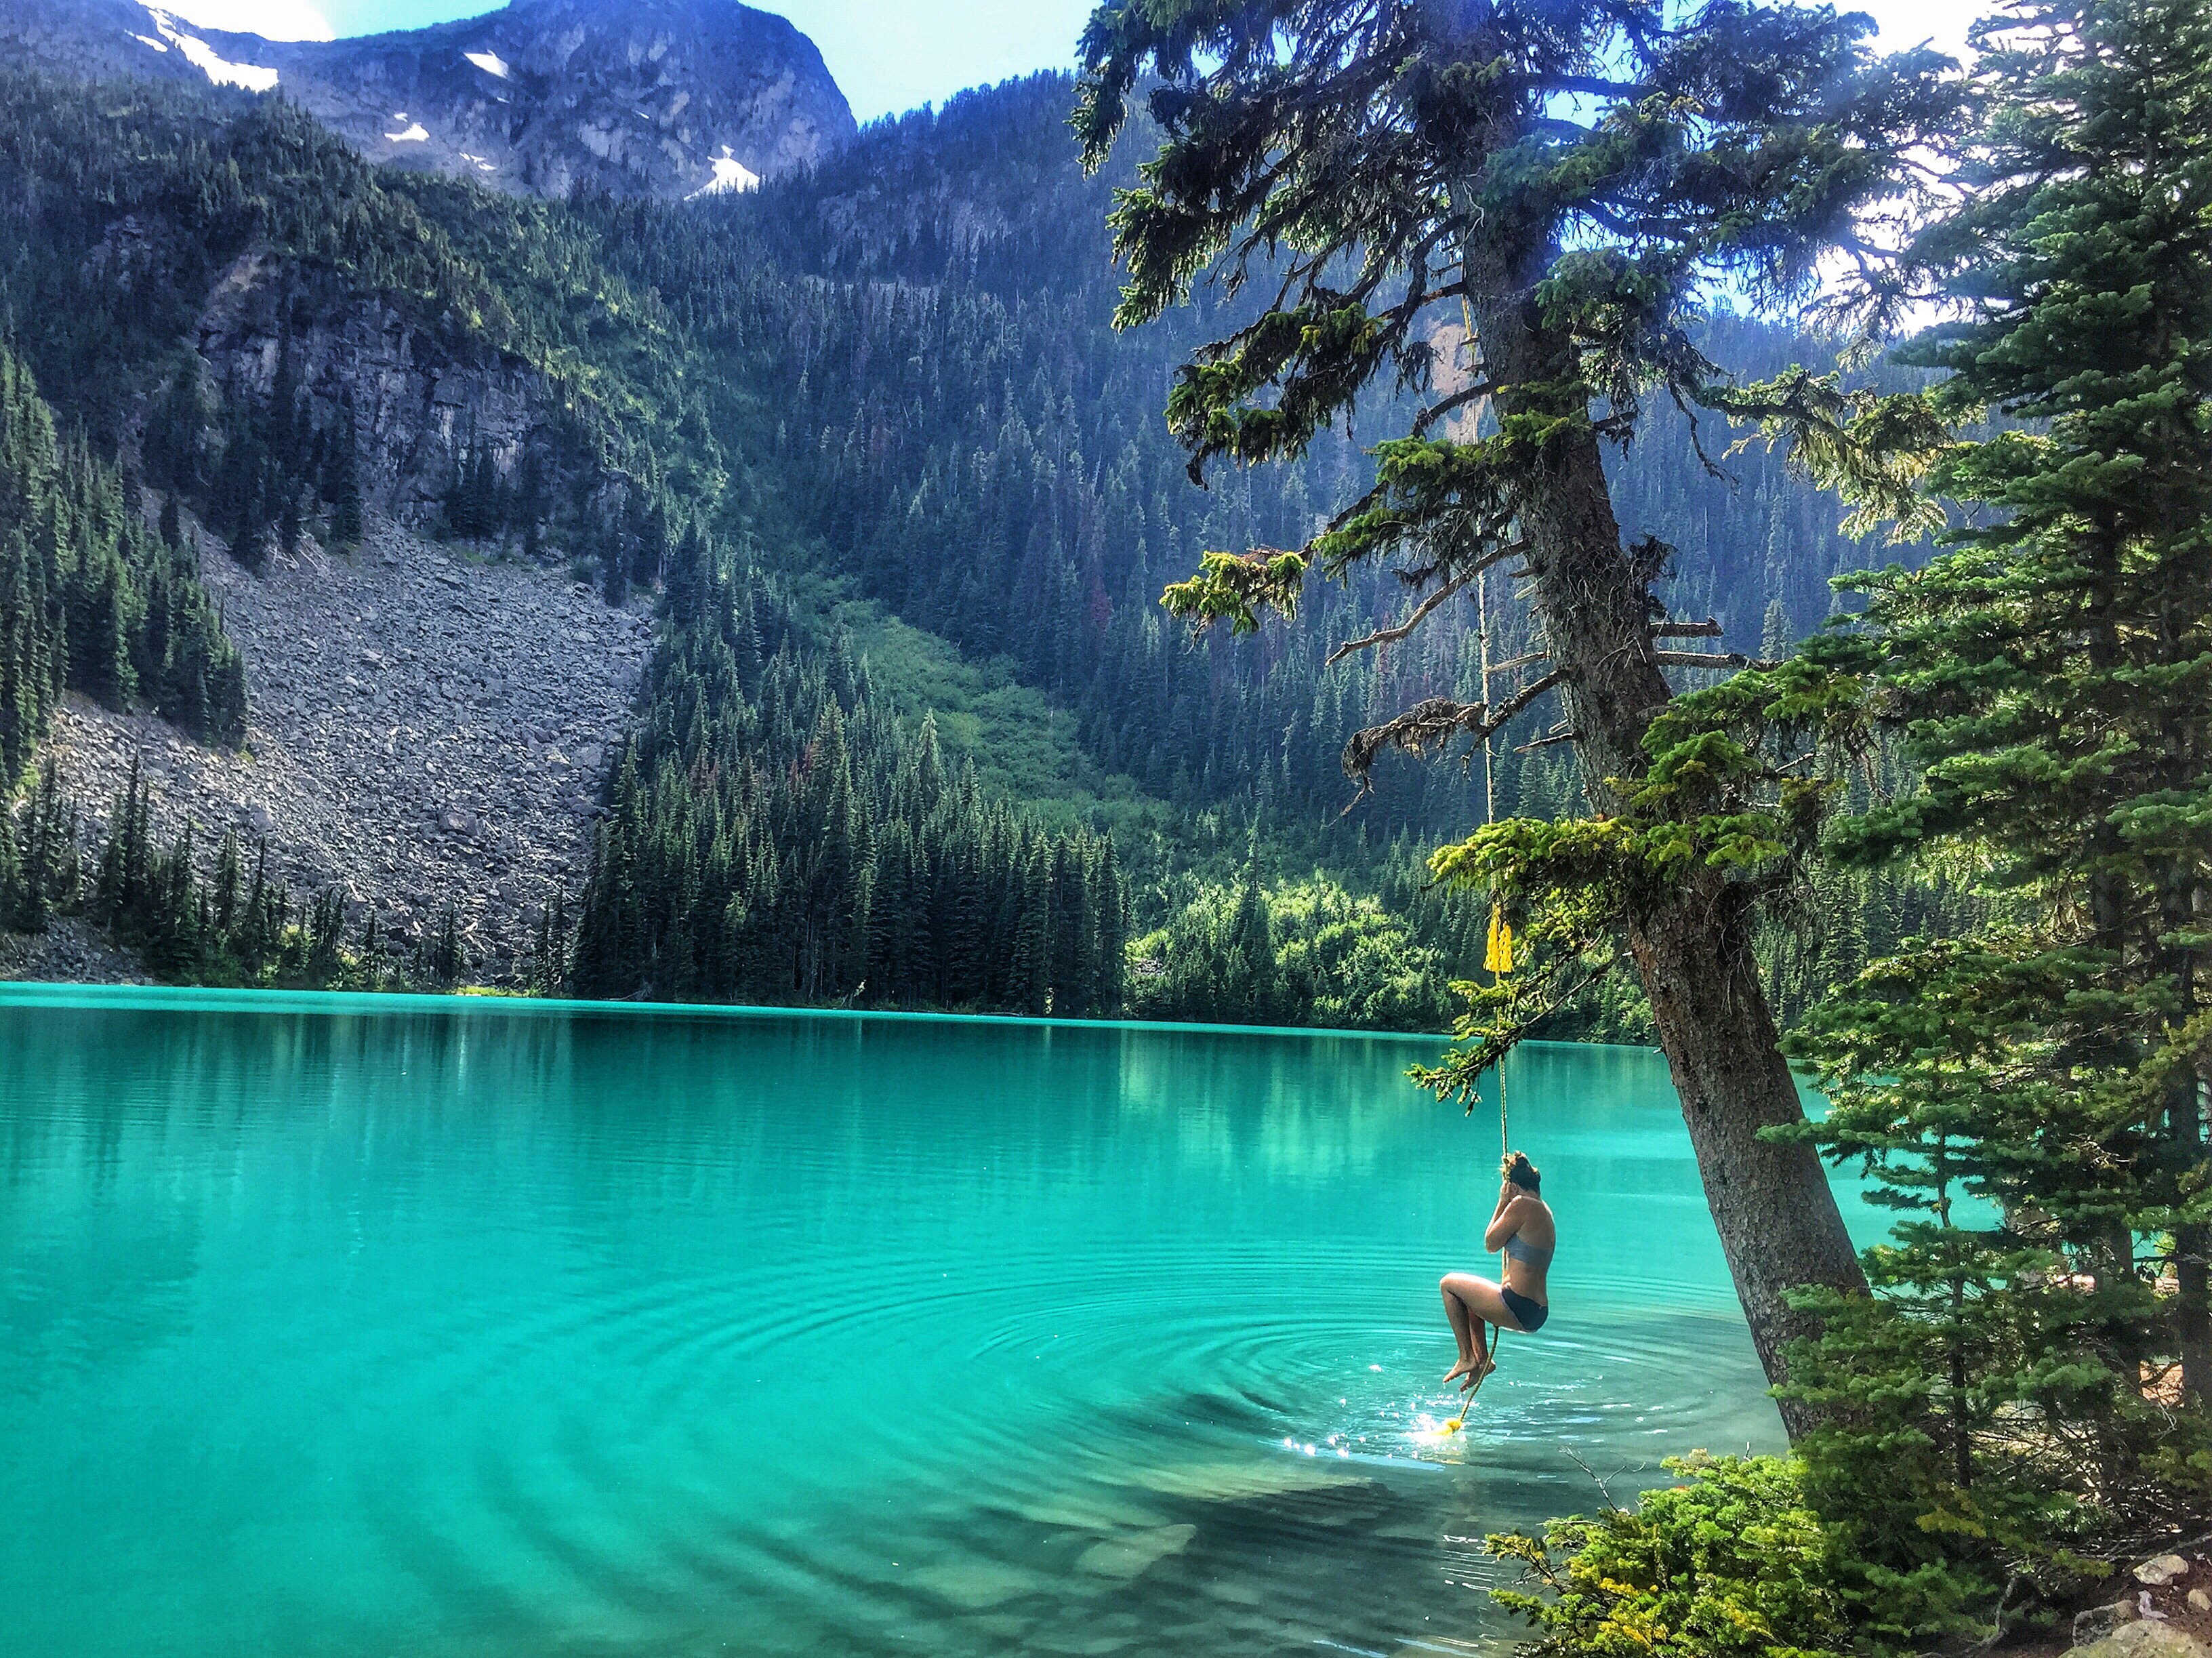
The second lake is about a 35 minute hike from the first. I HIGHLY recommend going to all three if you have time. The second one you are able to swim at and it was an amazing experience. The water was freezing but who can say they swam in a glacier lake!? There was an abandoned rope swing that I had to try. The water was shocking at first and you couldn’t stay in it long but it was doable!


The third glacier lake is not even a 10 minute hike from the second. It is definitely too cold to swim in but has amazing views! We saw lots of people camping there as well. I’m more of a glamper so that’s not really my style. 😉

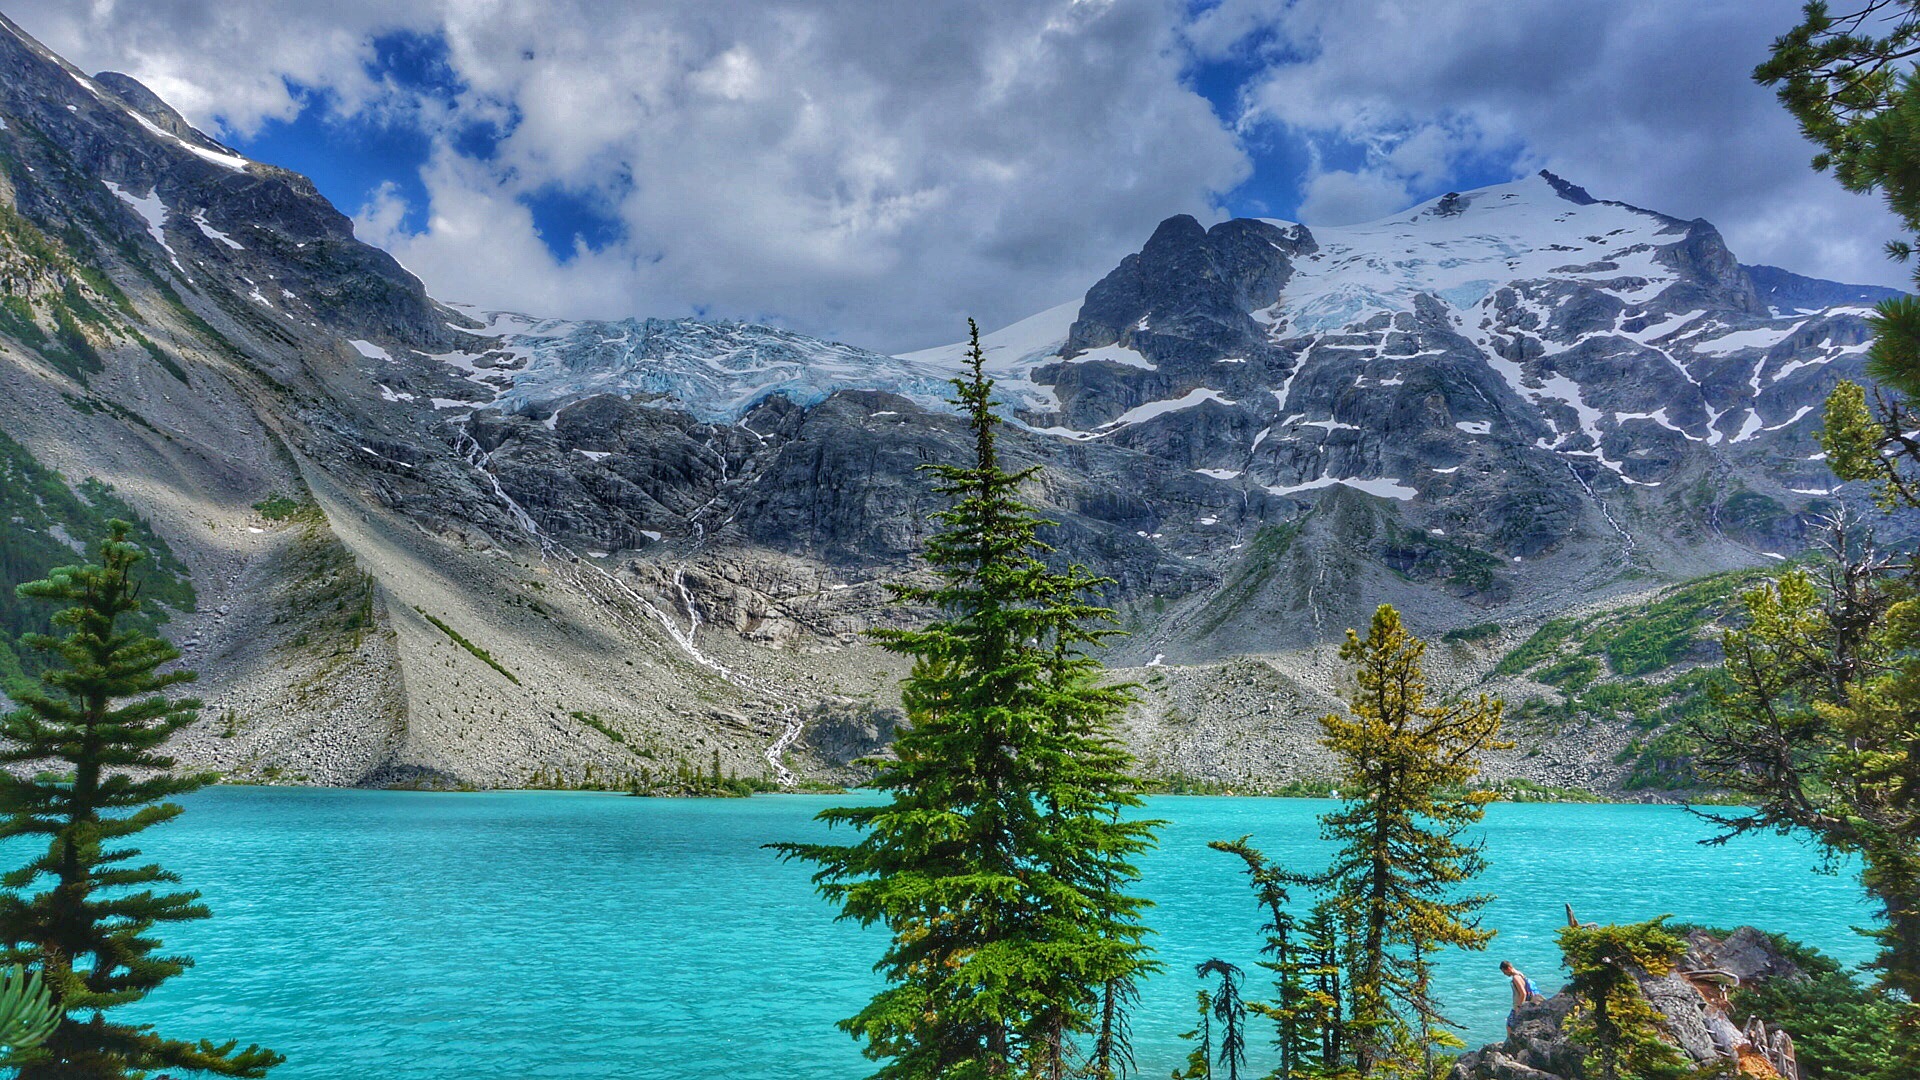
Joffree Lakes was by FAR my favorite hike of the trip. It was so cool to be able to swim in the lake and the views were like nothing I’d ever seen. It is 100% a MUST do!
On our last night in Whistler, we went to see the Olympic rings in Whistler Village before popping into a bar for a quick beer and burger. Our next day was reserved for a very, very long drive to Banff National Park in Alberta.
Day 3: Mt. Revelstoke
On our final morning in Whistler, we got up at 6 am to get on the road to Banff. Sorry hostel roommates! We had planned to make a pit stop that was an hour each direction out of the way at Mt. Revelstoke. I had seen that there was a cool mountain pipe coaster there that looked like something we HAD to try. And it would be nice to break up the 8+ hour drive.
If you’re planning to go to Revelstoke, buy your coaster tickets online and get there early! When we arrived around 2:30pm, the wait for the coaster was 2.5 hours!! Once you buy your ticket, you have to go to the gondola to get a number. Then they call riders to the coaster by that number. We were number 550 and they were only on 250 so we had a loooong time.
There isn’t much at the base of the mountain. Revelstoke appears to be a ski resort on the rise. The gondola employee suggested we go into town about 3 minutes away to kill time. But we weren’t that ambitious so we found a place to eat at the base and had lunch.
Note that there is nothing at the top of the mountain. There didn’t appear to be any hikes or ANYTHING other than the gondola and coaster. We went up early to check it out and luckily for us, no one in the current number section had come up so they let us ride the coaster early. It sounds like this happens often so definitely try to do this!
You can control your speed on the coaster but the workers recommended going full speed down the hill, even through the turns! If you go full speed you can get to the bottom in 2.5 minutes. I tried going full speed but to be honest I had to slow down around two turns because it felt like I was going to fly off. The turns are sharp and those straps don’t feel super secure! They are…but I was still a little nervous!

Was it worth going 2 hours out of our way for? Not really…but it was a nice way to break up the drive and see a little bit more of Canada so we enjoyed it!
The areas around Whistler were an absolute highlight of my trip. I can say it’s definitely just as worth it to get there in the summer as it is in the winter!
You can read about the final stop of our road trip, Banff National Park, here!
[…] Read about the second stop on our road trip, Whistler, here! […]
I like how the theme of this post is that you promised me a rest day but…
[…] my sister and I were booking our road trip (read parts 1 and 2 of our trip) through British Columbia and Alberta, we didn’t want to book our flights until […]